或許很多人會想樹莓派跟一般電腦的架構完全不一樣( ARM 架構的 Broadcom BCM2837 之於一般電腦的 x86-64 處理器)怎麼可能跑這些東西,但其實只要是使用跨平台的方式去撰寫,比如用 Python 或是 Qt 模式去撰寫的軟體通常都可以在各種平台上運行,而 Hentai@Home 這種運行在 Java 架構上的軟體更不是問題
這篇省略了一些前面講過的東西,像是設定 DHCP 保留,將樹莓派的內部網路位址固定,以及設定 DHCP/NAT 的傳輸埠指定,將特定的傳輸埠開放到網路( WAN )上、並轉發給內部網路( LAN )的指定網路位址,以及申請 Hentai@Home 客戶端、網頁上設定客戶端的部分,請參閱前一篇文章
首先來講一下要運行 Hentai@Home,在樹莓派所運行的 Raspbian 上需要安裝的軟體與設定
Network check
ping google.com
ping 8.8.8.8
Speed check
wget –no-check-certificate https://raw.githubusercontent.com/sivel/speedtest-cli/master/speedtest.py
sudo python speedtest.py --share
Speedtest results will show as url
https://www.speedtest.net/result/114514
Copy result address as graphic format
https://www.speedtest.net/result/114514.png
Installing Java Runtime Environment / Java Development Kit is install or not
sudo apt-get update
sudo apt-get install default-jre -y
sudo apt-get install default-jdk -y
Check Environment
java -version
Now it will show something just like this
openjdk version "1.8.0_141"
OpenJDK Runtime Environment (build 1.8.0_141-8u141-b15-1~deb9u1-b15)
OpenJDK Zero VM (build 25.141-b15, interpreted mode)
接著硬體的部分,樹莓派是使用 MicroSD 記憶卡當作系統硬碟來運作,即使用大容量的記憶卡
考慮到頻繁的讀寫還是建議使用外接硬碟,畢竟跑 Hentai@Home 就是要越大的檔案快取空間( Files Served / Maximum Disk Cache Size )越好,弄顆有一定容量的外接硬碟是最佳解
手上有一顆小容量的固態硬碟,可以在讀取速度跟耗電量上取得不錯的平衡,畢竟樹莓派的 USB 埠最大輸出電流量只能到 1200 mAh
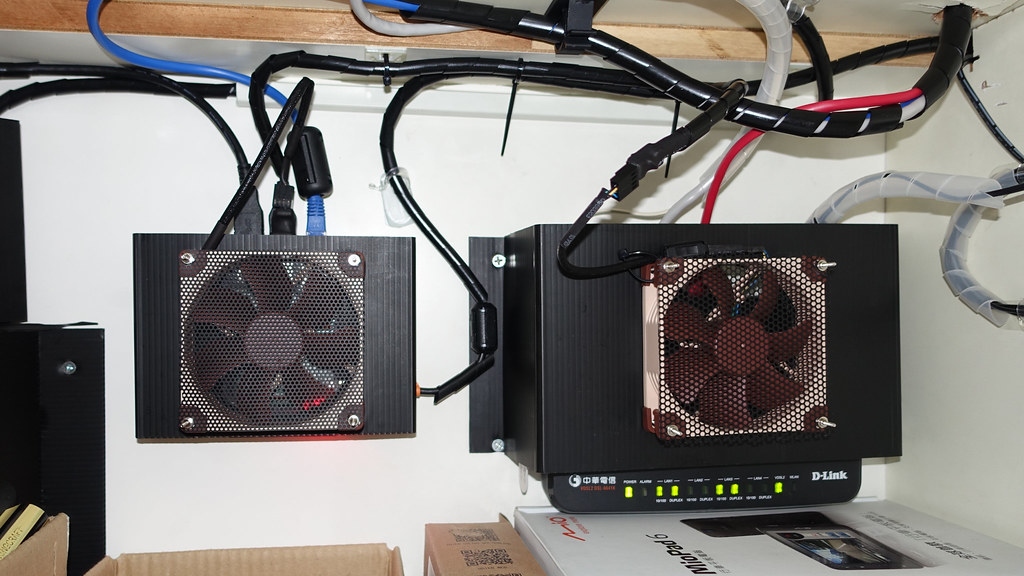
左邊是樹莓派跟它的風扇,右邊是中華電信光世代的數據機
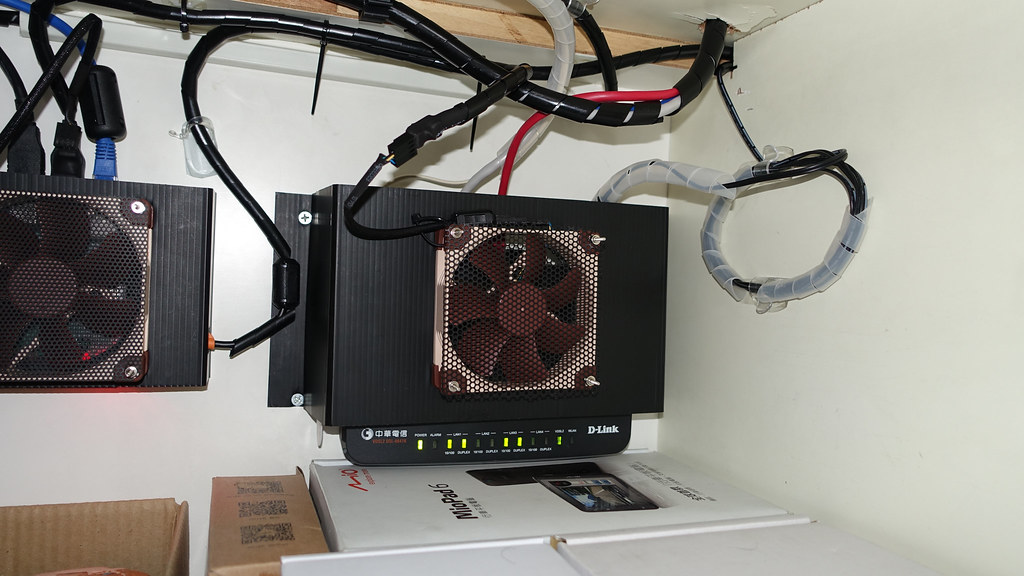
快門速度的關係,讓風扇看起來像停轉
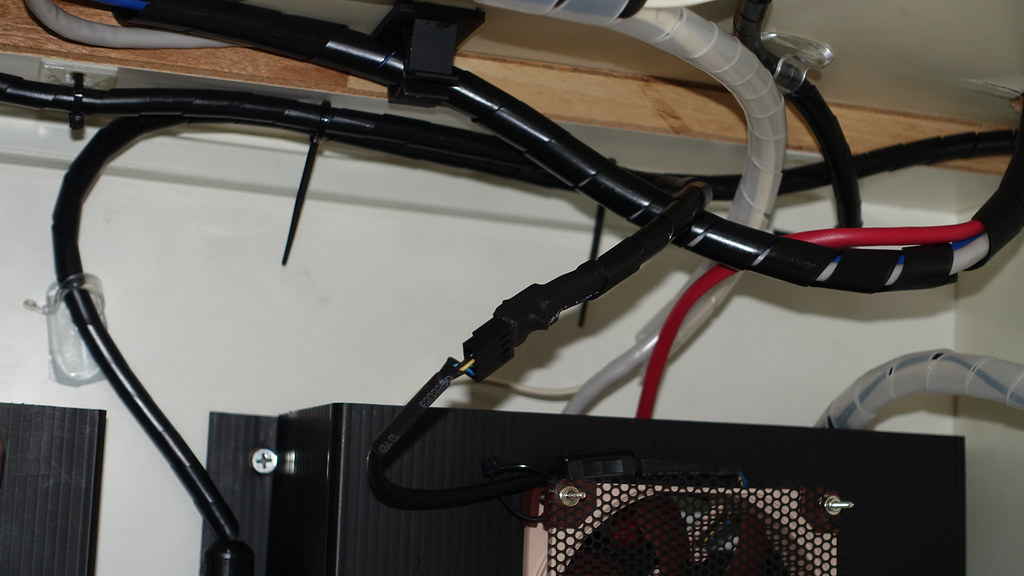
這條是自製的 USB 轉 3 Pin 風扇座
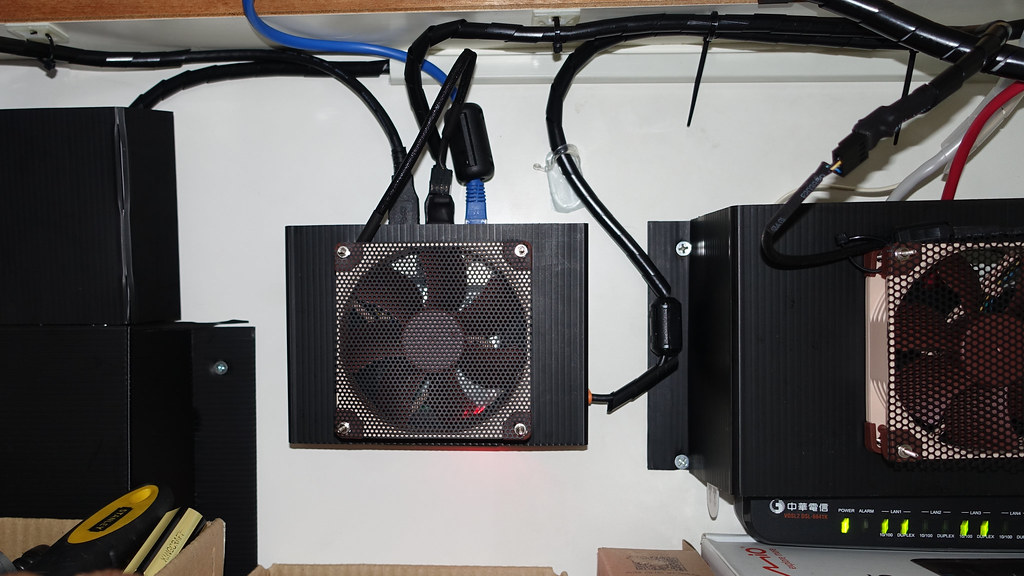
樹莓派跟自製風扇罩
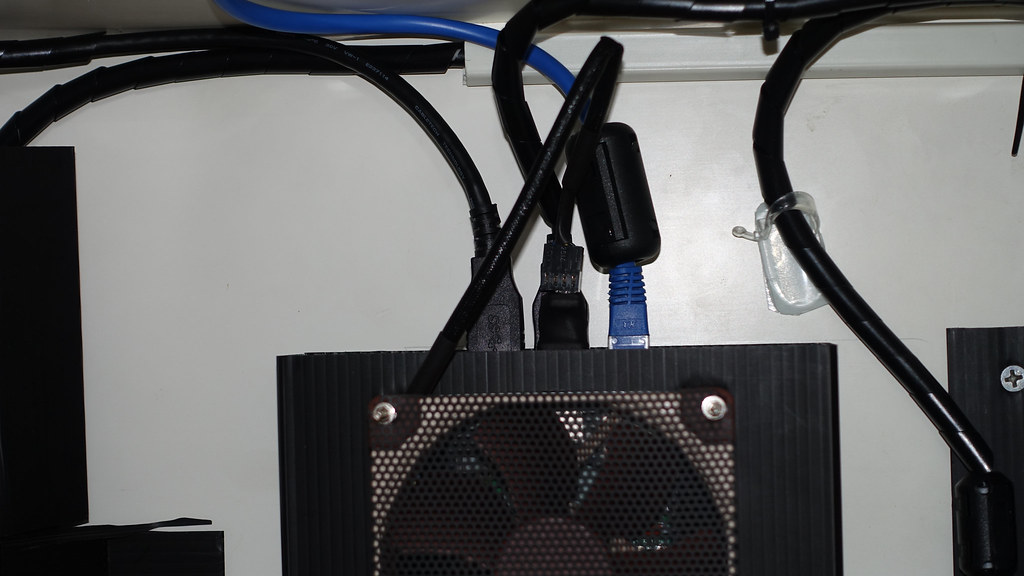
用自製迷你轉接頭供電給自己的風扇,也供電給數據機冷卻風扇、
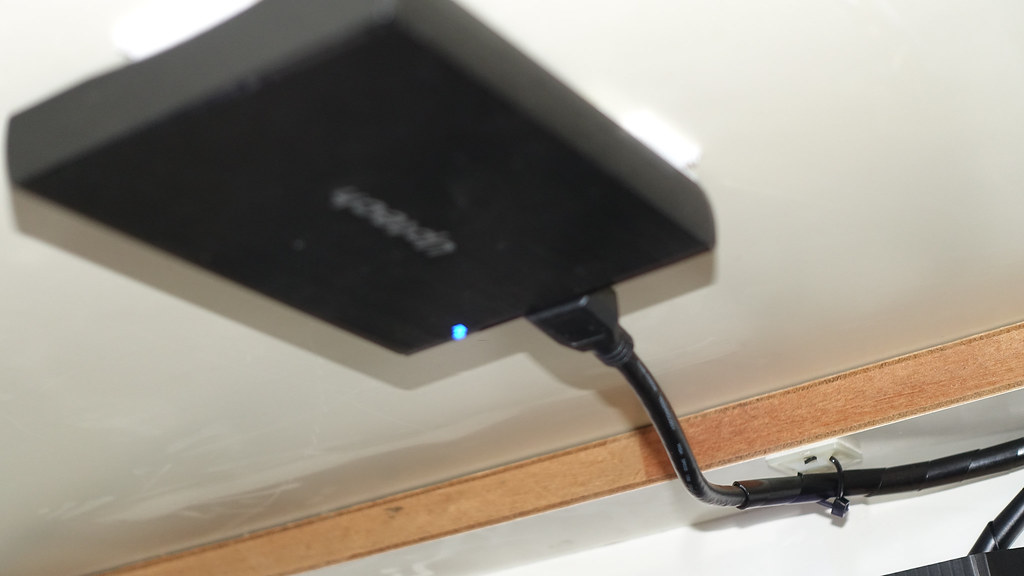
固態硬碟跟外接盒用 3M 魔鬼氈固定在櫃子頂部
接下來要把外接的固態硬碟掛載到樹莓派的系統,並能被運行的 Raspbian 系統存取使用
也就是說要把外接硬碟內部資料清空、刪除原先的分隔表、建立新的分割表與分割區,因此請確定這顆硬碟裡面沒有你需要的資料
Check volume and available space
df -h
List physical driver and volume
lsblk
After reboot
lsblk
It will show something just like this
NAME MAJ:MIN RM SIZE RO TYPE MOUNTPOINT
sda 8:0 0 55.9G 0 disk
└─sda1 8:1 0 55.9G 0 part
mmcblk0 179:0 0 14.9G 0 disk
├─mmcblk0p1 179:1 0 41.8M 0 part
└─mmcblk0p2 179:2 0 14.8G 0 part /
Check physical driver and volume information
sudo fdisk -l
It will show something just like this at the last chapter
Disk /dev/sda: 55.9 GiB, 60022480896 bytes, 117231408 sectors
Disk model: 2135
Units: sectors of 1 * 512 = 512 bytes
Sector size (logical/physical): 512 bytes / 512 bytes
I/O size (minimum/optimal): 512 bytes / 33553920 bytes
Disklabel type: dos
Disk identifier: 0x11451419
Device Boot Start End Sectors Size Id Type
/dev/sda1 2048 117231407 117231406 55.9G 7 HPFS/NTFS/exFAT
sudo fdisk /dev/sda
- Command [ d ]
delete partition - Command [ w ]
save change
sudo fdisk /dev/sda
- Command [ n ]
create partition - Command [ p ]
choice primary partition - Command [ 1 ]
create single partition - Command [ Enter ]
default first sector - Command [ Enter ]
default last sector - Command [ w ]
save change
Format the partition with the ext4 file system
sudo mkfs.ext4 /dev/sda1
It will show something just like this at the last chapter
mke2fs 1.43.4 (31-Jan-2017)
Creating filesystem with 14653670 4k blocks and 3670016 inodes
Filesystem UUID: 74046714-8ce6-444b-b157-824aa0a0eaca
Superblock backups stored on blocks:
32768, 98304, 163840, 229376, 294912, 819200, 884736, 1605632, 2654208, 4096000, 7962624, 11239424
Allocating group tables: done
Writing inode tables: done
Creating journal (65536 blocks): done
Writing superblocks and filesystem accounting information: done
Create folder
sudo mkdir /media/hd
sudo chmod 777 /media/hd
Check physical driver and volume UUID
sudo ls -lh /dev/disk/by-uuid
It will show something just like this
total 0
lrwxrwxrwx 1 root root 15 Aug 21 23:17 3961527c-ac15-44d4-8a19-dce4ffb0c47c -> ../../mmcblk0p2
lrwxrwxrwx 1 root root 15 Aug 21 23:17 cdf5-4176 -> ../../mmcblk0p1
lrwxrwxrwx 1 root root 10 Aug 21 23:17 74046714-8ce6-444b-b157-824aa0a0eaca -> ../../sda1
Check external hard drive and volume UUID
sudo blkid /dev/sda1
It will show something just like this
/dev/sda1: UUID="74046714-8ce6-444b-b157-824aa0a0eaca" TYPE="ext4" PARTUUID="71ab09b5-01"
Editing fstab configuration file
sudo vim /etc/fstab
Add following configuration at the bottom of fstab
UUID=74046714-8ce6-444b-b157-824aa0a0eaca /media/hd ext4 defaults 0 2
It should be look like this
proc /proc proc defaults 0 0
PARTUUID=3961527c-01 /boot vfat defaults 0 2
PARTUUID=3961527c-02 / ext4 defaults,noatime 0 1
UUID=74046714-8ce6-444b-b157-824aa0a0eaca /media/hd ext4 defaults 0 2
# a swapfile is not a swap partition, no line here
# use dphys-swapfile swap[on|off] for that
After reboot, it will mount as folder
依照上面的操作,重新開機後外接硬碟應該就會掛載到指定資料夾下了
接著我們來跟前面一篇文章一樣,下載並安裝 Hentai@Home
Install unzip and screen
sudo apt-get install unzip -y
sudo apt-get install screen -y
Download Hentai@Home
cd /media/hd
sudo mkdir hath
sudo mkdir cache
sudo mkdir data
sudo mkdir download
sudo mkdir log
sudo mkdir temp
cd ~
sudo wget –no-check-certificate https://repo.e-hentai.org/hath/HentaiAtHome_1.4.2.zip
sudo unzip HentaiAtHome_1.4.2.zip
sudo mv ~/autostartgui.bat /media/hd/hath
sudo mv ~/HentaiAtHome.jar /media/hd/hath
sudo mv ~/HentaiAtHomeGUI.jar /media/hd/hath
Create script
cd /media/hd/hath
sudo touch Hentai.sh
sudo vim Hentai.sh
Editing file, It should be look like this
java -jar /media/hd/hath/HentaiAtHome.jar --cache-dir=/media/hd/cache --data-dir=/media/hd/data --download-dir=/media/hd/download --log-dir=/media/hd/log --temp-dir=/media/hd/temp
screen
sudo chmod 777 /media/hd
cd /media/hd/hath
sudo chmod 777 Hentai.sh
./Hentai.sh
Enter Client ID when you see something like this
Enter Client ID:
Enter Client Key when you see something like this
Enter Client Key:
Hentai@Home will start running if everything right.
[ Ctrl ] + [ A ] + [ D ]
填入客戶端編號與金鑰後,沒意外的話 Hentai@Home 已經開始順利執行了
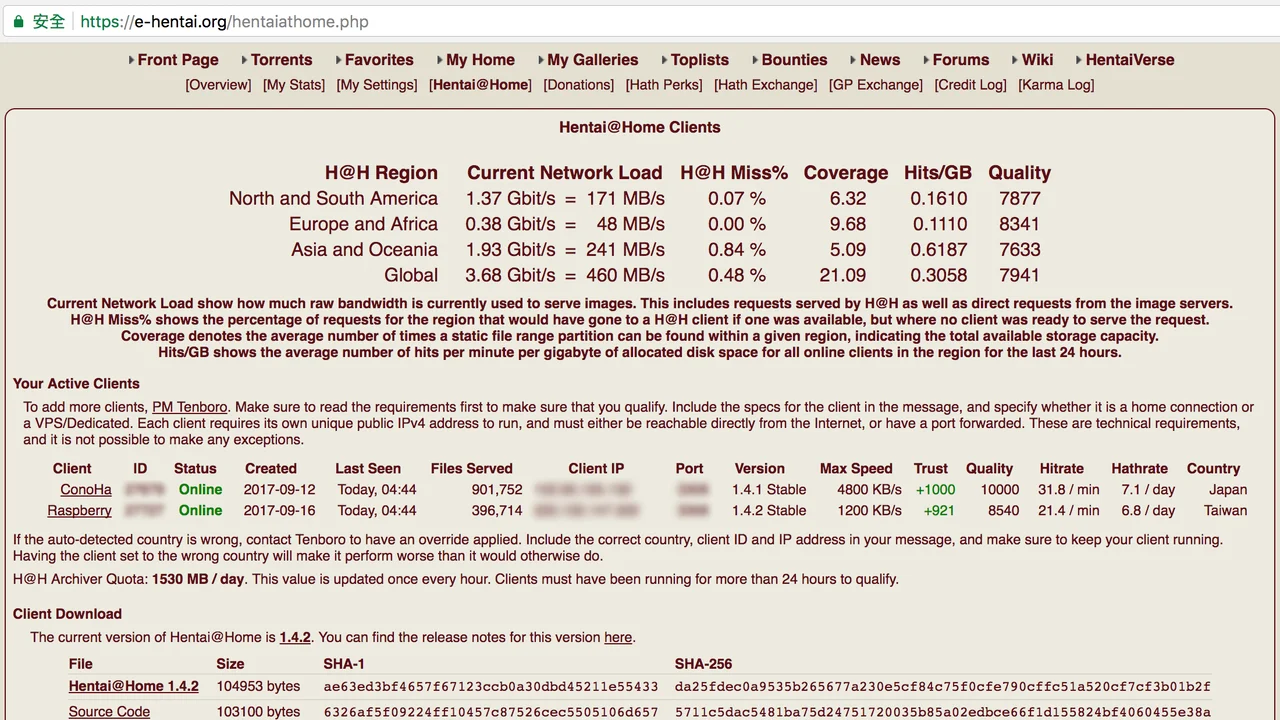
在 E-hentai 可以看到樹莓派上的客戶端已經連線,兩個客戶端 6000 KBps 大約是亞洲區的百分之二運算力
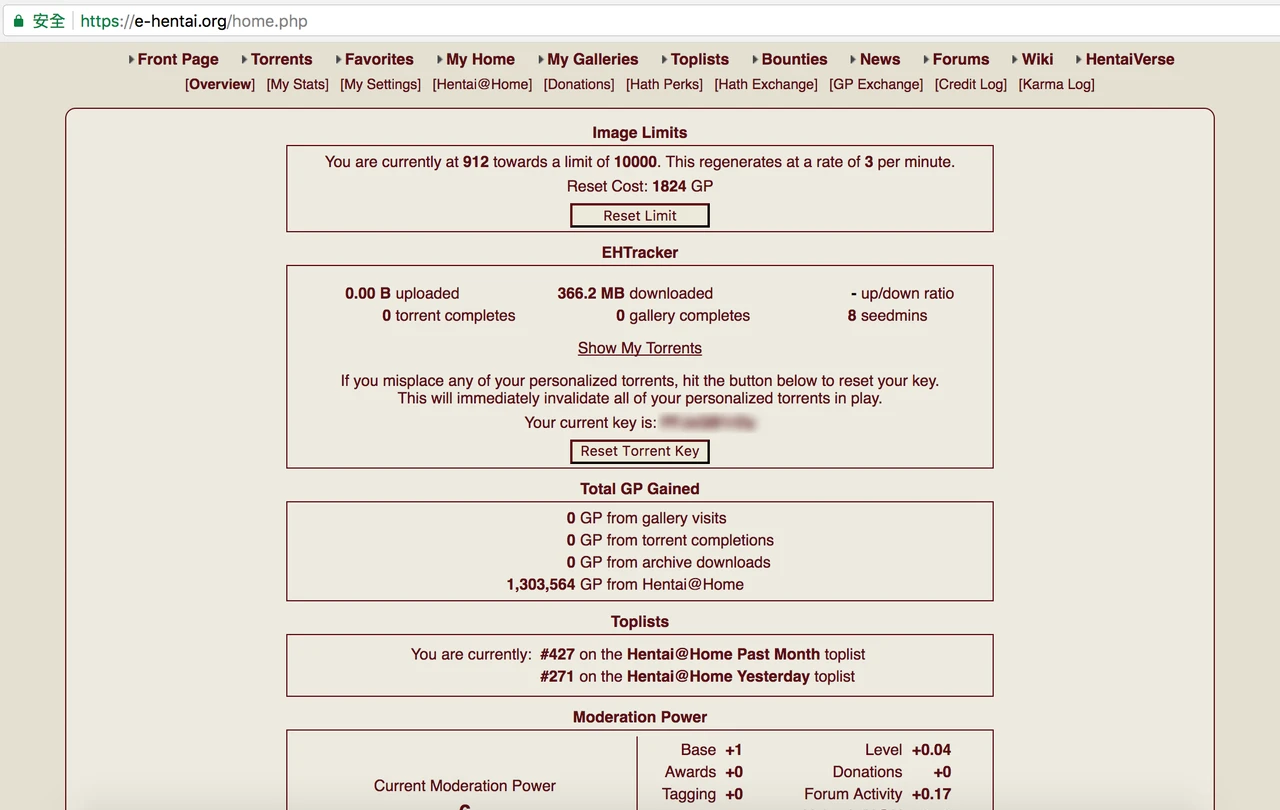
接著就是等著 Gallery Points 跟 Hath 入袋了
通常樹莓派都是以 Headless computer (沒有外接螢幕與鍵盤滑鼠)的方式運作,因此可以用一些自動化腳本來監控並在發生異常時提醒你去處理,當然樹莓派內建的硬體看門狗也是必須的,詳細請參考這篇文章
而我也額外寫了一些基於 Python 的小程式來監控,並使用 Crontab 來達成自動化運作,並在異常時通知我,我把撰寫好的程式放在 GitHub 上了
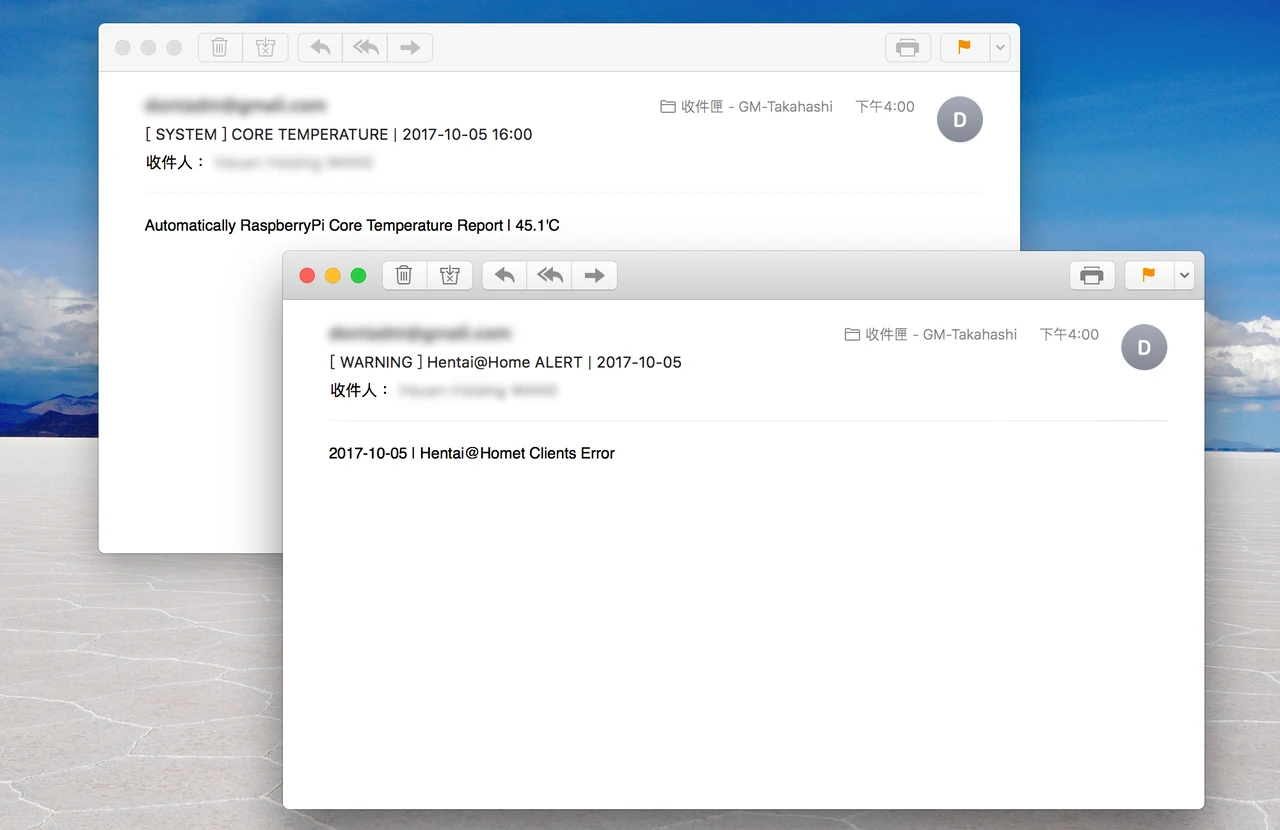
使用 Crontab 來自動化運作,定時回報處理器溫度與在 Hentai@Home 異常時回報
大大您使用的Raspbian是lite版(340MB) 還是 完整版(1.6GB)?
回覆刪除Lite, 如果沒有必要用圖形介面(X Window)跟那些預載軟體的話,Lite 就好,多一些空間給記憶卡
刪除請問用一定要用3代嗎?可不可以用2B?
回覆刪除主要是處理器 SoC 瓶頸的問題,就算你外接硬碟夠大,卡在網路卡跟 USB 3.0 打架搶頻寬
刪除上傳性能跟傳輸率不好也沒辦法把 Hit rate 跟 Hath rate 衝高